Wednesday, 26 March 2014

Sunflower Apron:) McCall's 5366


   Hello sewing friends!:) May I present my latest project (finished last night): this Sunflower apron.

   Notice I didn't say "my" apron, because it's not for me. Rather, I made it as a prize for my upcoming baby shower at Mom's:) I figure most people like sunflowers, so I thought it was a safe bet. I chose a simple pattern that I already had in my stash, McCall's "Easy stitch'n save" #5366. I made some modifications in that I lined the apron with some green fabric, and made the back ties a bit wider.

     I must point out that I didn't purchase the fabric from Fabricville, but from another local fabric store, Marlene's Sewing Bee. It's a small independent fabric store that sells mostly cotton prints. The owners are very nice & knowledgable. They have quite a selection & I was happy to find this good quality print almost immediately.


     For once I'm not modelling my sewing project, I decided to let my new sewing buddy, Diana, do it this time.

        Yes, that's right, I got a "Diana" dress form!!!!!!! AHHH!!! Can you tell I'm excited?;) My wonderful mother-in-law bought it for me at the thrift store she works at. I don't think it even made it to the sales floor! She said this is the first time a dress form has been donated, and she snatched it up right away (gotta love in-laws that support my sewing habit;)

    In all seriousness, I am super-grateful for this dress form, and I've already used it a bunch:) Thanks Gina!! xoxo


   This was a pretty simple project, but I thought I would share a few photos showing how I lined the
apron. It was very easy. I sewed on the patch pockets and basted the neck straps & waist ties on the sunflower fabric. I cut a second main apron pattern piece from the green broadcloth.


   I basically just sewed all around the perimeter of the apron, leaving a small section near the corner (but sewing the corner!) for turning.


   Here by the top of the apron, I sewed a line of stitching where, if I would've sewn an unlined apron, the fold line would've been.


  Here to the right and below, showing where I clipped and graded corners of the apron.


    Once I turned the apron right-side-out, I pressed & pinned it around the edges  and topstitched with green thread.


      I sewed an extra row of topstitching where the opening for turning was. I don't think anyone will notice. Well, if they read this blog post, I'm sure they'll look for it now!;)


    Again, here's the lovely Diana modelling the finished apron:) She'll be of great help with my upcoming jacket project that I am SUPER-DUPER excited about (I know I sound like a kid, but I can't help it!:). 

    Last week (on my Birthday:) I ordered the popular Minoru jacket pattern from Vancouver-based Sewaholic Patterns. This pattern has gotten a ton of reviews on P.R, and on plenty of blogs as well. Tasia, founder of Sewaholic Patterns, even hosted a sewalong on her blog. I read through all the past posts, and she really does a great job walking you through every step of the jacket. It looks very doable. I am SO excited to make one (or two ;)! I've been wanting to make a jacket for quite a while and this looks like a winner!:)

Here is a link to the Minoru jacket pattern:)

  Happy sewing all!

Wednesday, 12 March 2014

Vogue 1314, with a twist;)


   Hello all!:) I've sewn yet another version of my beloved Vogue 1314. This time though, I had to make some more than a minor pattern alteration to accomodate both me and baby. I was first inspired to make a maternity version of this pattern many months ago (pre-pregnancy) after seeing the beautiful Kelli's dress shown here. I've noticed ruched maternity dresses since then and knew at some point in my pregnancy I'd like to make (at least) one for myself;) My review on P.R here.


Add caption


   Since I've already made myself a ruched maternity top using this top to the right as a guide, it wasn't too difficult to alter my existing Vogue pattern for pregnancy. It did take a bit of trial and error, and to be honest, there are some things I will probably change on the next version (which there most likely will be, this pattern is like Lay's potato chips, you can't stop at just one!;)

   I've noticed that on a lot of maternity tops, the side seam is in a similar place as regular tops, just the front seems to have more width for the baby bump. I'm showing the tape measure (above) going down the centre back (the top is stretched out so the ruching lies flat and I could take more accurate measurements).

    I took half-width measurement at different points (chest, waist, hips) and added the increased width to my existing Vogue pattern. I did the same for the front. Below is the back pattern piece with added width (I did end up tapering it in at the side under the armhole though). I didn't change the pattern from the armhole up but I did use a slightly smaller seam allowance and it seemed to work fine:)


   This fabric is a polyester/spandex from Fabricville. I wanted it as soon as I laid my eyes on it! It kind of has an early 90's feel, I think. I picked up a meter and a half, which was more than plenty for this dress.

      Though I'm totally smitten with this fabric, I was afraid a whole dress in it might be a bit much. Before I started on it, I noticed a friend from church (thanks Christine!:) wearing a really cool top that had a wild print in front, black sleeves and black neck band. Hence, the inspiration for this look:)


    I enlisted the help of my wonderful husband in the print placement of this fabric. I just held up the fabric in front of myself and Dan suggested where it looked best. I put pins at the bust points to help me when I laid out the front pattern piece at the cutting stage here. Caper likes the fabric too!:)


   I used regular 1/4" elastic for gathering the side seams. I would have preferred clear elastic, but was out (and my local fabric stores didn't have any either:p ). Besides, I noticed *all* of my RTW maternity clothes with ruching used regular elastic.

    I had every intention of lining this dress, I even made up one to check the fit, but missed some steps in the process. It ended up being a hassle trying to add it on after I had sewn the sleeves in flat (my own fault), so I just left it. I may make a separate lining in the future, but the dress seems fine without it.


    Since I wanted a contrasting neck band, I took off 5/8" off the neckline and cut a bias strip of black polyester/spandex 2" shorter than the neck measurement (plus seam allowance of course).


  I basted on the neck band with a 1/2" seam allowance, but in hindsight, I wish I would've made it so that the finished band would end up being a bit wider, maybe used a 3/8" seam allowance instead. If I make another version like this, I'll make sure I do that.


    Here to the left, I've trimmed the seam allowance to about 1/8"-1/4" and used the overlock stitch.


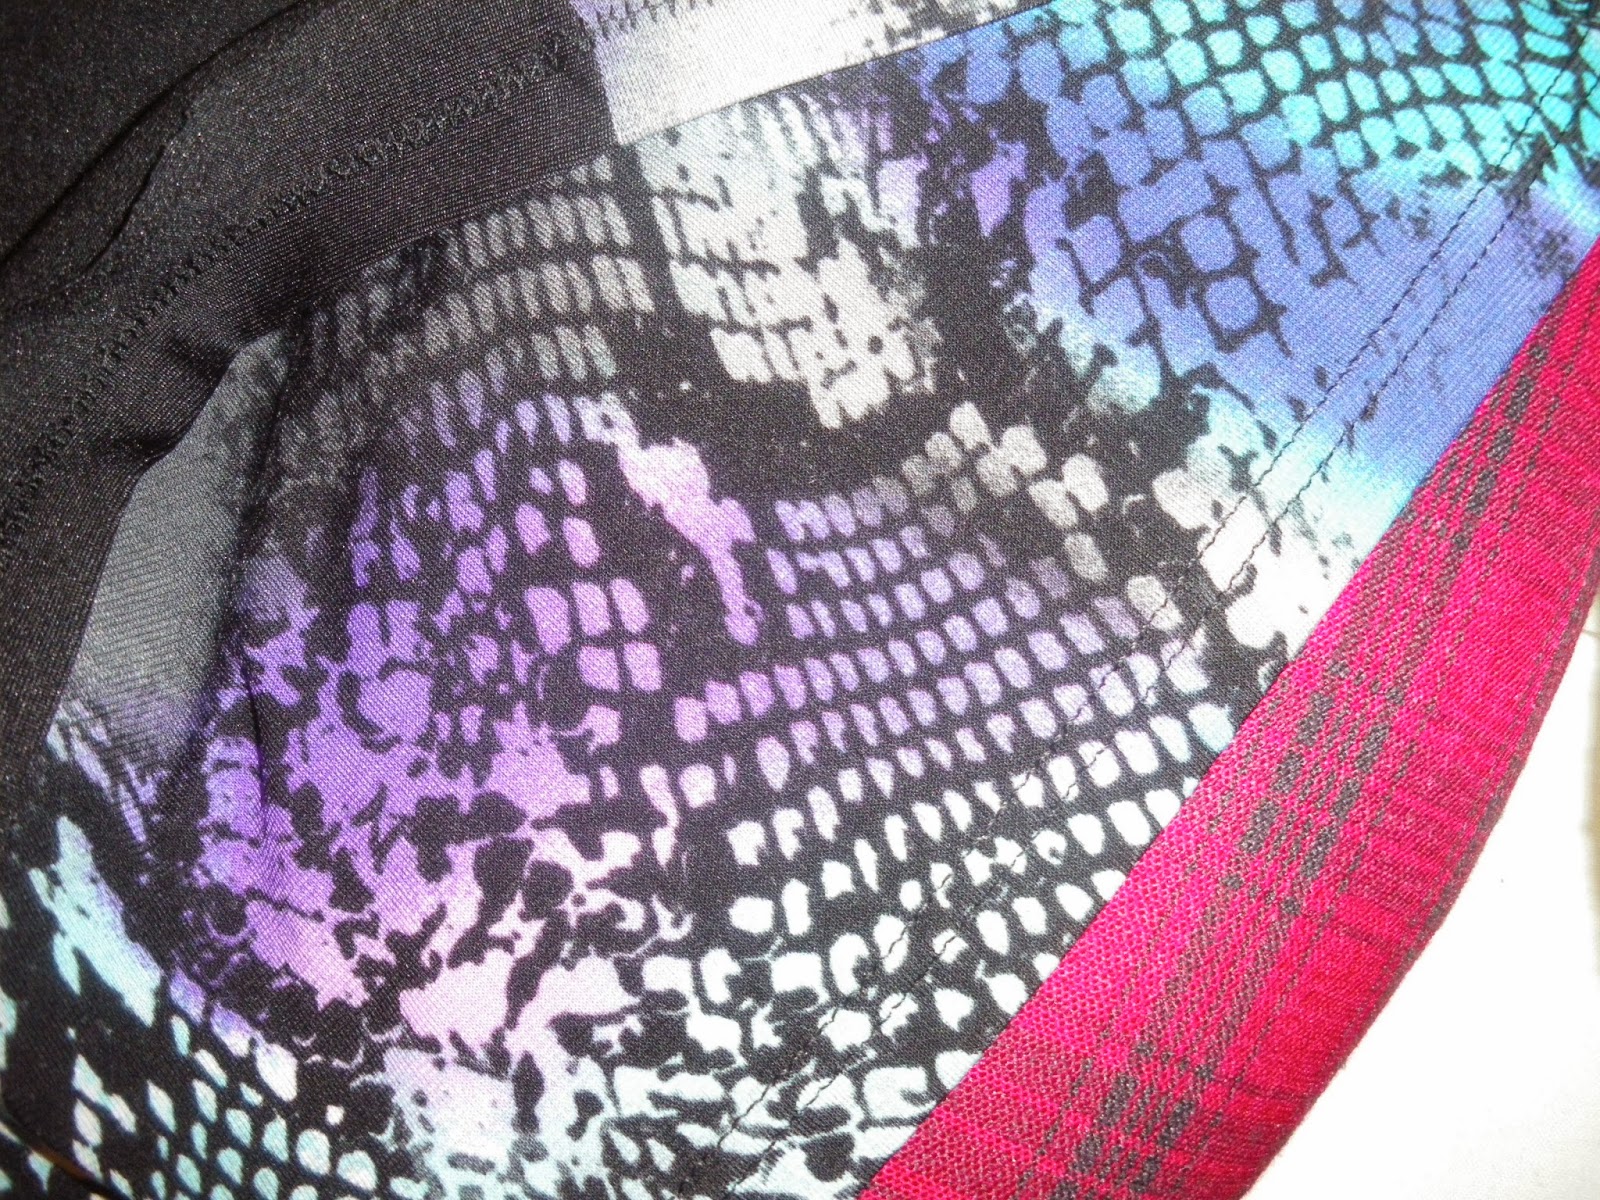
   ....and here it is on the inside after pressing...


.......and here it is from the outside:) I decided not to topstitch. I can always add it later if I feel like it;)

Boris hanging out. Cats pick the strangest places to nap.
 
 I used steam a seam lite 2 on the hem for stability and then topstitched with a double needle.


    And here's the dress again. Happy sewing everyone! Till next time:)