Let me elaborate:) So I had this great rayon/polyester/spandex tropical print fabric from, where else, Fabricville. It was a great deal @ $5/metre. I've had somewhat of an obsession with Hawaiian/Tropical prints lately and was *dying* to make some kind of summery item with it. I was torn between making a skirt or a dress. In the end I decided to make a mermaid style skirt from a tutorial on youtube. I was in somewhat of a rush to make something quick (my last project, a Minoru jacket took a few weeks to do). I was in too much of a panic, and botched it up. Also, I don't think my fabric was stable enough for the intended project. Very sad face:(
I vented to Dan and he, being the encouraging husband he is, suggested that maybe it would turn out better than I thought. I was tempted to trash my skirt, but decided to sleep on it. Next morning, I googled "easy summer dress to sew", for some ideas for another project and stumbled across this, the "Two Become One Dress"!.
| My inspiration!:) |
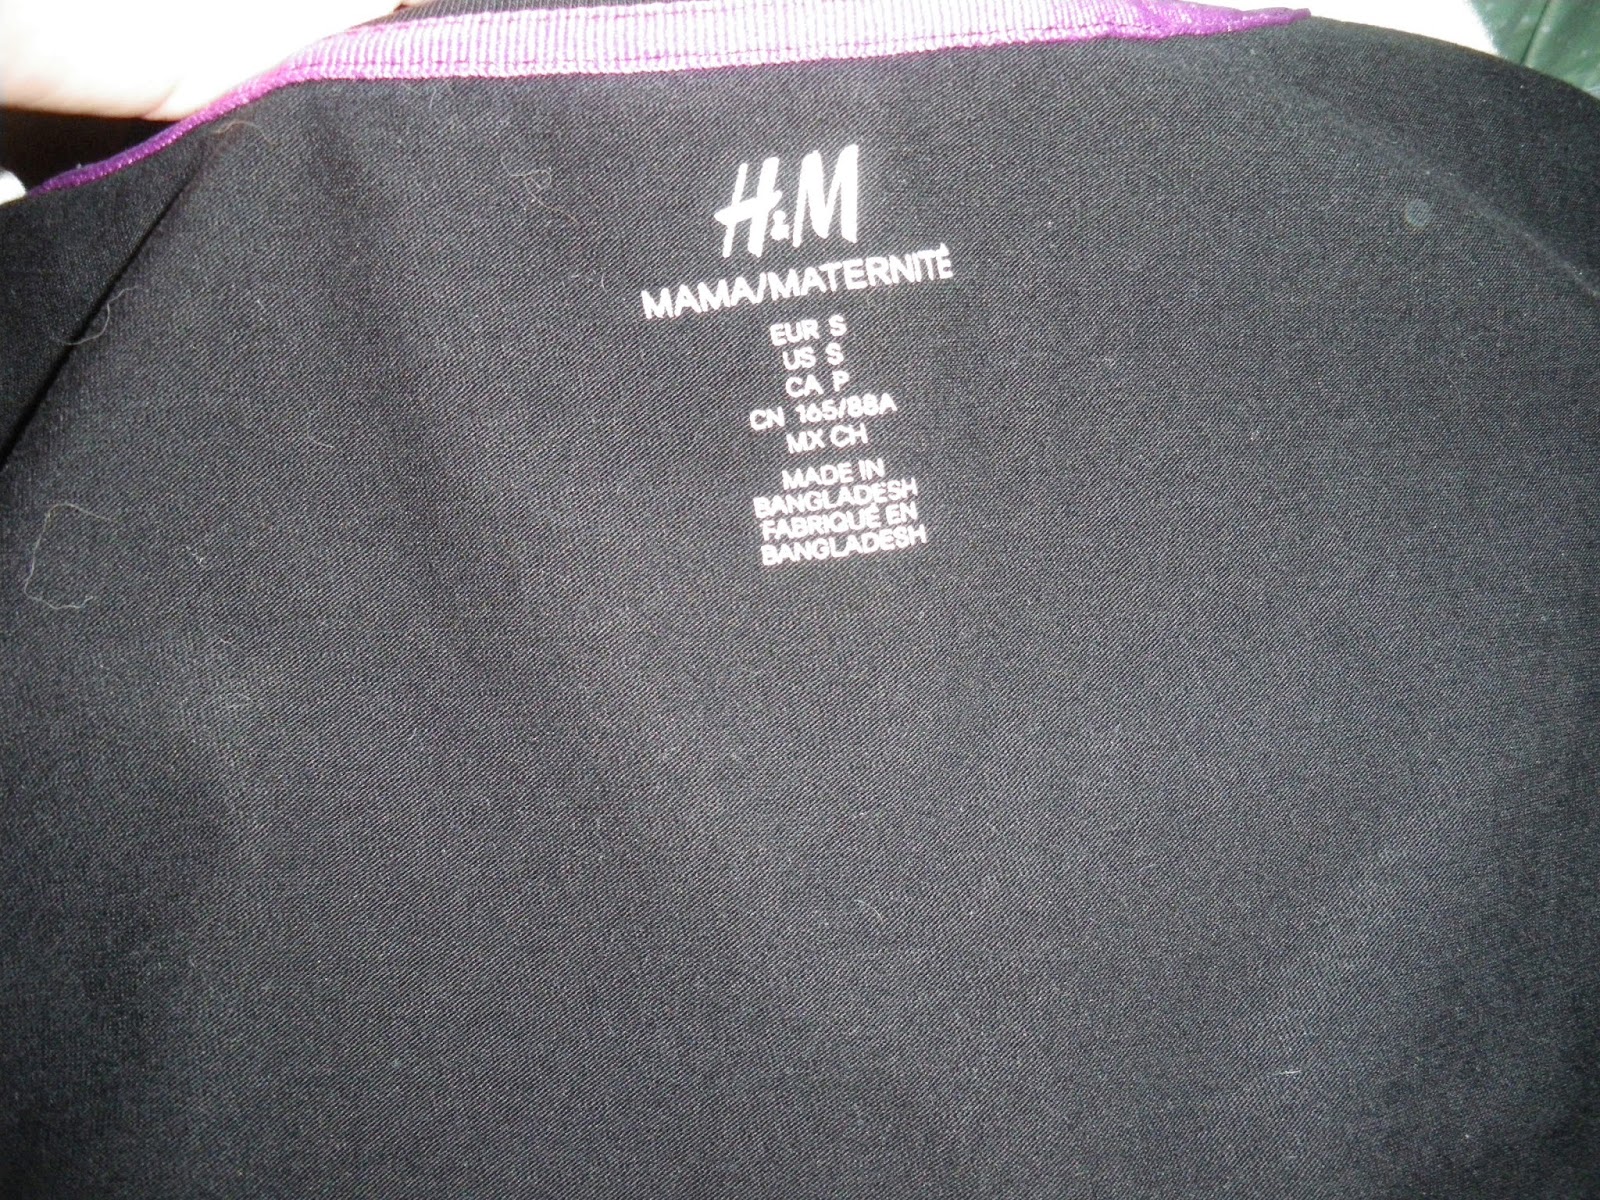
This lovely lady provides a free pattern, and though I hadn't used her free pattern (yet!) it was the perfect fix to my botched-up skirt! I had a black maternity shirt that was damaged, so I cut it across the midriff and sewed it to the skirt at the waistband seam and voila, I then had my new favourite summer dress!! I can't tell you how much I adore this dress! I want more!:) I wore it to church yesterday and received many wonderful compliments:)
This is not so much a tutorial, but this is what I did to make this cute summer dress: :)
First of all, I laid my fabric out (folded), and cut around a pair of jeans with the knees folded up to make a pencil skirt of sorts. For the waistband, I winged it, and made a waistband that's the casual fold-over style you find on some workout pants.
 |
| My soon-to-be-hacked maternity top! |
I had to cut and re-sew the side seams to fit my non-pregnant midsection:) and then try on the top with the skirt to figure out where to cut my top before sewing it to the waist seam. Again, just winging it!:)
Here, hopefully you can see that the waistband remains free. Not perfect, I have to adjust the waistband "gathers" whenever I put it on, but hey it works! The top is now sewn to the waistband/skirt seam and is ready to wear!:)
I didn't even hem the skirt! I just cut it across with my beloved rotary cutter and I was good to go!:) I like the longer length, I think it's rather sophisticated;)
Here are some more photos....
And for your viewing pleasure!:)
Thanks for reading and happy sewing!:D


Wow he looks so big compared to your last post! What a cutie. I'm pinning this pattern now!
ReplyDeleteGreat, I think this style would look cute on you! And thanks Beth, yes, he sure is filling out!:)
DeleteFantastic save. Your dress looks great and your baby boy is gorgeous.
ReplyDeleteThanks Margie!:)
DeleteGreat save on an otherwise frustrating project. I love my dresses that look like separates, and I never have to worry that the top I want will be in the washing pile, because its already attached to the skirt! Thanks for linking out to my pattern Rikki.
ReplyDeleteThanks Deby! Glad to share:)
ReplyDelete