Wow, October is here yet again! And you know what *that* means??? Ohhh yeah!! It's costume time!!:) Yay!! This year, not only do I get to make *myself* a costume;), I also got to make one for my little Isaac! Dan and I were out shopping at Costco last week and there were a few inexpensive costumes out for baby, but what fun would that be?;) Besides, I'm going as Ariel, so I thought it would be fun to do a theme! I considered making a crab costume, but Flounder won out:)
I think Isaac makes a cute little Flounder:)
 |
| "My" Flounder:) |
 |
| The "real" Flounder:) |
Soooo, I scoured the internet for ideas for Isaac's costume. Although mermaid costume tutorials abound on the world-wide-web, there's next to nothing for Flounder! I did find a couple of costume images that I used as a guide:
....and this one which is actually my favourite one that I've seen. I couldn't find anything but the photo (no accompanying blog post:(. It was helpful as a reference though. If Isaac was younger, I probably would've made him a bunting costume like this.
 |
| So cute! |
The resulting costume, doesn't he look thrilled??:) Oh well, at least Sabastian does;). I actually purchased this Sabastian online, to go with our costumes:)
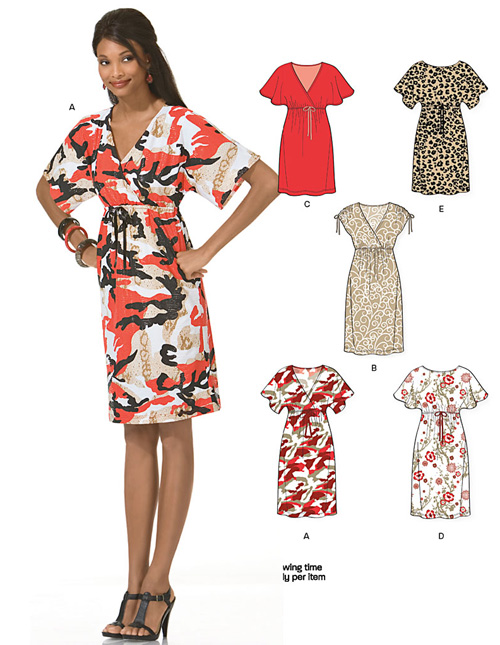
My review on PR
here.
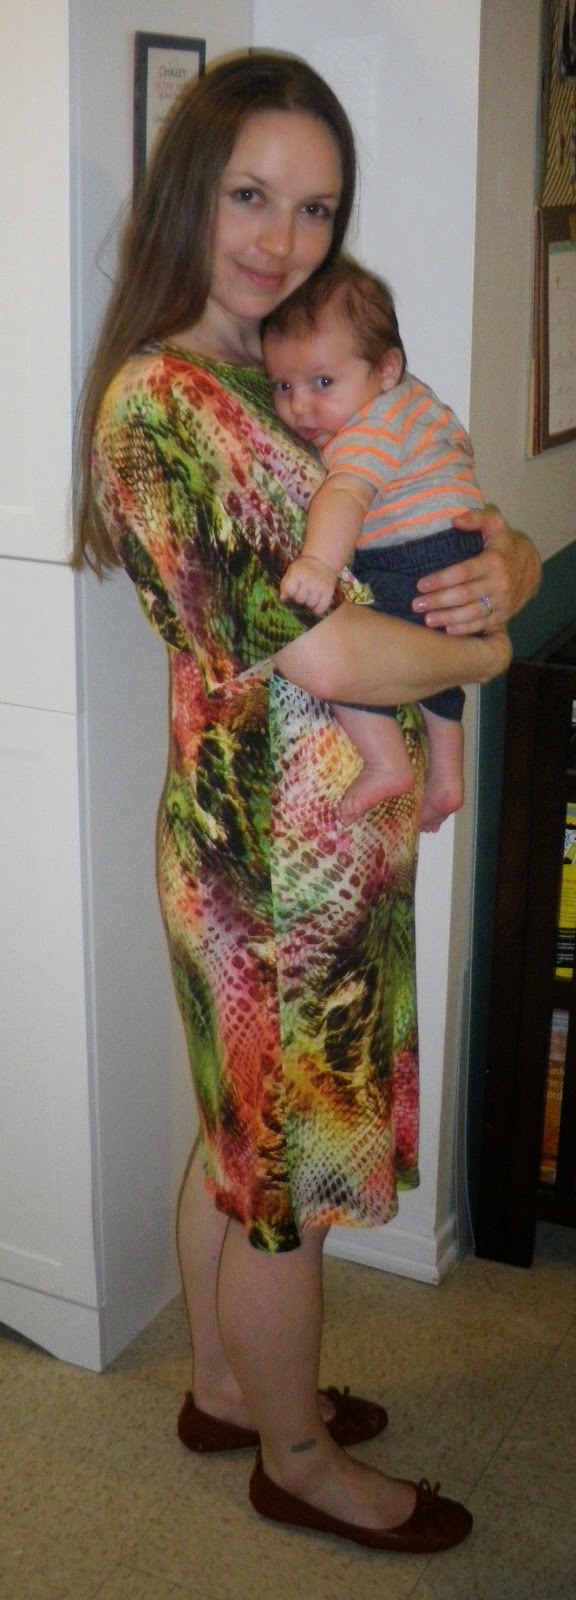
I used a basic one-piece baby costume pattern, Simplicity 1767, and added fins on the arms, tail & head to resemble Flounder. This is a pretty easy pattern, especially if you follow it for one of the views listed. Even with my modifications, I was surprised that I finished it over the course of a few days (which is fast for me!:). I started it on Monday and posted photos on Facebook last night (Wednesday) !:)
I'm going to make something of a disclaimer here: I probably made this process a whole lot more difficult than it needed to be. I've never sewn any type of clothing for a baby, certainly not a costume, so it was a lot of trial and error since I think I botched the sizing (yes, on such a simple pattern, I admit it!). This isn't a tutorial per say, but I'd like to share my process. There's not a whole lot out there online for a Flounder costume, so this might prove helpful to someone!:)
I printed a picture of Flounder to use to help me get an idea of how to arrange the back markings. I simply cut strips of blue fleece on the fold. I was going to make a template, but I found it easier just to cut freehand. I trimmed the pieces as I felt necessary.
 |
| Isaac sleeping why mommy sews, what a good boy!:) |
I used steam a seam & a press cloth (using a low temperature, fleece and irons are not friends!) so the markings wouldn't shift while I sewed them (maybe I would have been fine with just pins but I just love my steam a seam!!;)
 |
| Used steam a seam to secure stripes on tail fin before stitching.. |
So, I *should have left a section of the centre back seam open so I could have sewn the tail into the seam, but I forgot! I used an overcast stitch too, so rather than unpick all those stitches, I did this instead...
Here the tail fin is sewn to the back, right in the centre back seam. I used a piece of seam binding on the inside.
I pinned the tail "pieces" together and sewed around.
Sorry, this isn't the best photo. I'm sewing Flounder's "mohawk" fin into the hood seam. I just winged it, making a bigger fin than necessary, planning to trim it down to size later. More on that a bit later...
Here I used the middle section of Flounder's fin (drew & cut freehand) and put them together and traced to make the bigger light blue part. I thought it would help make it more symmetrical. The light blue fleece is cut on the fold. I extended the middle piece, intending to trim off the excess later.
Note: I should have used a fabric marker, as Crayola washable markers bled onto my hands & sewing machine. Washes off easily, just annoying!
Arranging the fleece sections...
Sewing around the middle section (starting and finishing on the "fold line" to secure:) There will be a little section of the dark blue piece that is free, will be trimmed later.
I basted the front & back of the costume together
so I could both check the fit and "fin" placement:)
Isn't he sweet!!?:)
 |
| Checking fin placement;) |
I marked the inside of the fin, where I wanted the
line of stitching to be, with chalk.
I didn't take a photo, but I pinned the two flaps together and sewed around the fin to make it on piece.
Dark blue middle part on the underside is trimmed away since I only wanted it to show on the upside:)
Here I drew freehand, on Flounder's mohawk fin, and sewed along the marks, a couple of times, and trimmed the excess carefully...
Ta da!!:)
I used a smaller seam allowance to join the front and back pieces, as I was concerned it might be too small. I'll probably sew around it again closer to Halloween.
 |
| The back, with Sabastian:) |
 |
The front, also with Sabastian;)
|
 |
| Add caption |
A couple more photos...
So there you have it! In hindsight, it would have been simpler to construct all the fins and then sew them into the seams, but oh well, I was making this up as I went & it turned out ok I think. :)
Next up: Ariel! ;)