Monday, 11 November 2013

McCall's 6792, 80's-style dress:)


      Let me introduce my latest dress, from McCalls pattern 6792:) This is a pretty new pattern. It was just introduced for the Fall season, however, I'm surprised there are no online reviews for it yet. None. Not even when I Googled it, could I find anything besides the pattern image and line drawings. 
       
      I know that at least one other person who has tackled it, and that's one of the talented ladies from my local Fabricville. I couldn't help but notice it displayed on one of the store mannequins. She sewed it as a colour-block version in two complimentary ponte knits. I definitely want to try the colour block version, and I already have fabrics on hand.
McCalls 6792, Fall 2013


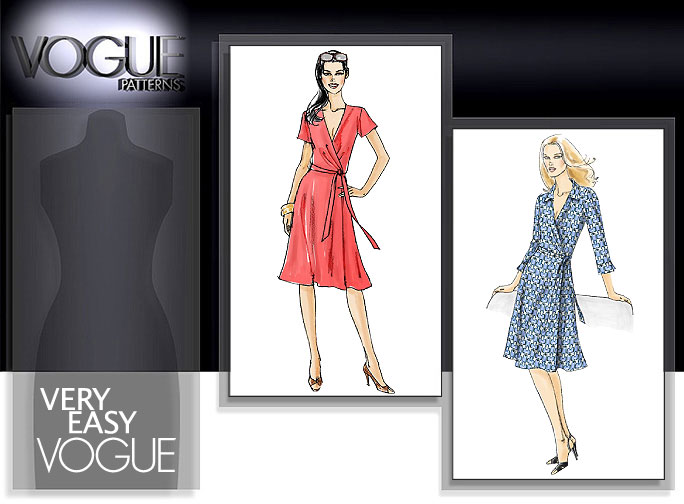
       I knew I wanted to try this pattern as soon as I saw it! I think it's so cool!:) I love the colour-blocking effect, but it was the style that really attracted me. I've been wanting a simple dolman-sleeve dress for some time now. I purchased Vogue 1337 which also has a similar kind of sleeve. I think all the pleating on the shoulders and hips deterred me after reading some reviews (too much work, not that I think it would be unflattering). I do plan to sew it at some point because I quite like the 80's vibe, being a child of the 80's, ('81 to be precise;)


    I think this pattern, McCalls 6792 also has an 80's vibe and much simpler to sew up. The fabric I purchased is from Fabricville. It's a printed rayon/polyester/spandex blend. It's so soft and cozy to wear! I just love it:) 


    This dress pattern is pretty easy to sew, so no long explanations are in order. As usual I'm including photos of the kitties, doing their typical lazing on my pattern pieces.


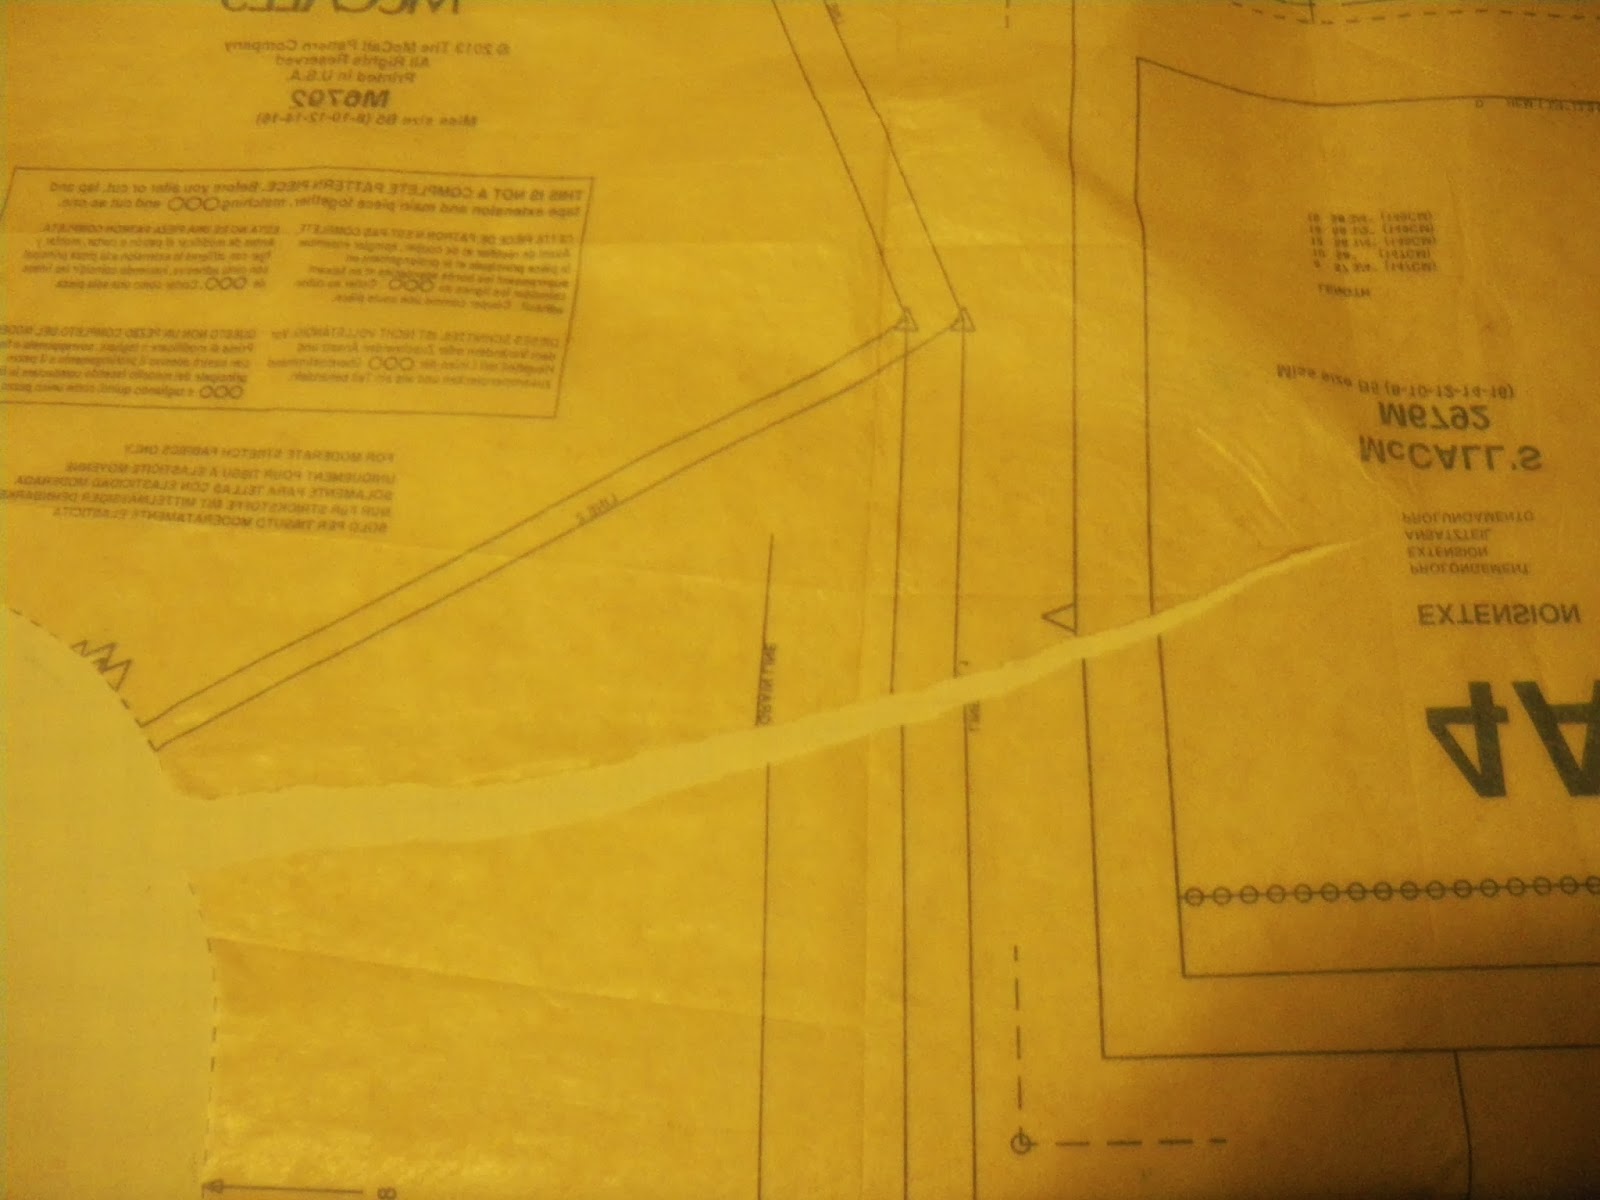
One of my cats got carried away and tore the
front pattern piece (bad kitty!).  I used strips of interfacing to "tape" it back together.
After surgery:)


      I must say, if you want your dress to have *any* curves (besides the underarm seam) be prepared to make some adjustments. Shown here to the right is the centre back seam. It's straight. Pin straight. I wanted the option to wear it without a belt around my waist (without looking like a sack), so I took another dress I have that has shaping and used it as a guide to create some curves.


     Here is the back pattern piece with marker dots on the back seam and a line on the side seam showing the new seam lines. I just put the pattern piece over my dress and traced the adjustments for future use:)


Using my hockey puck "clappers" after pressing my neckband:)


       I did enlarge the neckline a bit and lower it some, it felt like it was chocking me :p Also, I made a neckband instead of making a facing, as my knit was not very heavy. I think I widened it a bit too much but I'm pretty happy with the end result. I will make it less wide next time:)


        The pattern instructions tell you that you have 1 1/4" for the sleeve hem, but I thought that would be too much. I wanted my sleeves full-length, so I only hemmed it 1/2", using steam a seam lite 2 (for stability) and topstitching. Next time I'll add length to the sleeves so I can hem them properly:)

     I did shorten the dress a bit to be a more flattering height.


    And here it is again:) I love my new dress! I think I'll make another one before I put this pattern aside;)


Saturday, 2 November 2013

Red Riding Hood 2013...and the Wolf;)


Dan and I, in costume:) We dropped by my Aunt Isabelle's place after the party:)

     How fun are we?!:) As a kid, I loved to dress up for Trick or Treating every year. As an adult, I don't have to wait 'til Halloween to collect candy from the neighbours anymore, I can just go out and buy it whenever the mood strikes me (like today for instance, can't resist those cute little chocolate bars, especially @ 50% off!:) However, the dressing up part, I just recently got back into the last few years. I think couple's theme's are fun! Last year Dan and I went the "Batman" route (although, he was the more recent Heath Ledger-style Joker, and I couldn't resist making a Cat-woman outfit in the style of the gorgeous Julie Newmar, from the 60's Batman TV show. Don't we make a splendid couple?;)


Dan and I in last year's getup:)


Ok, back to the present!:) Here's some more photo's in my Little Red costume:) My review on P.R, here.

Just came home from my evening shift at work, pardon my messy hair!:)


This photo-shoot wouldn't be complete without one of my kitties getting into the picture;)


The pattern I used: Simplicity 3618


Dan (aka: the wolf-man) and I:) <3


  I knew last year that I wanted to be "Little Red Riding Hood". Dan was such a sport to be the Wolf. We purchased his wolf costume and the night gown,  and I made his night cap. We came across one ready-made but it would've cost $15! For a night cap! It seemed simple enough, so I figured I could just "Google" it and make one myself (times such as this I'm glad I can sew:) And Google it, I did. However, there are not a great amount of tutorials on the web (no surprise I suppose, how many people wear nightcaps these days??), but I did find some good instructions on ehow.com. So I took some photos to show what I did (with some changes of course:) It was really easy, and surprisingly fast (for me at least, I'm not the fastest sewer!;)

#1 Cut two 24" diameter circles and pin them *right sides" together.


#2 Sew around the circle with a 1/4  seam allowance, leaving
two inches or so for turning.
#3 Turing fabric right-side out and press circle into shape. You
can sew the opening closed or proceed like I did.

#4 I didn't bother pinning the lace trim, just made sure it
was close enough for the needle to catch it on the edge of the fabric
circle (as shown:)

#5   I used 3/8" "Seams Soft" instead of bias tape to make a casing for the
1/4" elastic. The Seams Soft was sewn on the bottom of the circle 1" away
from the fabric edge. I made chalk markings around the circumference so
I wouldn't have to pin the Seams Soft.

#6  Sewing just on the edge of either side of Seams Soft. No need
for perfection;) Leave an opening on one side big enough to insert
an elastic. Once you have your elastic in and adjusted accordingly (fit it on
whoever's head the cap is for), stitch
elastic ends together and sew opening closed:)

#7 We wanted to have holes for the Wolf ears to come through, so
here I have the cap on the wolf mask (on a styrofoam head) and marking
the places for the ears with chalk.


 #8 I used a zig-zag stitch and made two lines  close together (almost
like a big button hole) and then cut (carefully!) between them.
The finished night cap on our styrofoam head...with Boris looking on;)...

...and on Dan (isn't he cute:)

   I don't want to make this into a ridiculously long post but I would like to include a few things I learned along the way. I started this costume in the beginning of September and I'm very glad I did, because it was a lot of pieces! Cape, shirt, vest, skirt & petticoat, whew! I was SO glad to be done (the day of the party of course!). Warning: Do NOT start this last minute! Do yourself a favour and start early (for your sanity:)

    This pattern is pretty easy, but as I said, it takes time as there are quite a few parts. The cape was very easy. A couple of changes, I lined the hood and used self-fabric ties instead of ribbon.

    The shirt I actually used a New Look peasant blouse pattern instead of the one included with this costume. I wanted to wear this outfit both to the costume party and to my work. It can get pretty chilly where I'm at, so I wanted a long-sleeved shirt (although short-sleeved looks more authentic). The cape kept me quite warm, which was nice:)

   Next up is the vest...with grommets. The pattern doesn't tell you what size to use, so I settled on 5/16" grommets. The pattern photo only shown 8 grommets whereas the pattern instructions have 12! I just eyeballed where I wanted the grommets to be and used a dressmaker's pencil to mark inside the grommet circle. Also I must note that the pattern cover picture of the vest looks as though the front forms an upside down "V" at the bottom, but the instruction illustrations show differently (as you can see on my vest).


Shown here to the right, I used a seam ripper to get me started on the holes and used snips to cut just inside the circle to make an opening for one of the grommet pieces to go through.


Here's how not to do grommets, and that's using the grommet tool on the right side of the vest! I did and then saw that the grommets do not stay in that way!


Here's how you're supposed to hit the grommet, on the wrong side of the vest. It was easy enough to fix. Just had to flip the vest over and put the grommet tool over the grommet and hit it with the hammer.

  Note: don't go crazy with the hammer (see the marks on my board) or your grommets may get a little bent (like some of mine did!:( Oh well, I don't think anybody noticed! It's a costume anyhow:)


Last was the skirt. Please note: the waist for the circle skirt is very small! I used the 12 for the skirt (I used the size 10 for the vest) and it was way too small! I used a curved ruler to enlarge the waist. Worked pretty good, although I should have made the opening more "circle" shaped because it affected the closure, but still wearable:)


In  hemming the very wide circle skirt, I simply pressed the hem allowance (I did about 1/4")  and added the gathered lace trim (below).


I'm not sure what the directions on the pattern say, but I just applied the lace trim as I was sewing (no pins). I made sure the lace was under the edge of the hem of the circle skirt so the stitching would catch both layers:)


Skirt with lace trim, I added two patch pockets to have for my work keys
 and phone:)


 Again, here's the finished result:)  Till next year!


Big, bad, sneaky wolf... :)


Slightly blurry iPhone photo:( Totally forgot to take along my camera!

Saturday, 24 August 2013

Barbie-Doll Dress, 2013:)


  "For this reason a man shall leave his father and his mother, and be joined to his wife; and they shall become one flesh."

Genesis 2:24


I can't believe it's been almost two months since I've blogged about a dress I've made! I feel a little deprived:p It's been a busy summer with vacations, weddings and such. Oh well, it feels great to be back! :) And speaking of weddings, my brother's wedding was scheduled for earlier this past month of August, and hey, what better occasion to make a new dress than a wedding?;) My review on Pattern Review here.

I've never considered myself a "girly-girl", but I've been really smitten with pink lately, particularly hot pink. My latest creation was inspired by the dress below while googling hot pink wrap dresses a few months back.....


  The above stunner from Banana Republic made me *need* a hot pink/fucshia dress. I nicknamed my version, my "Barbie-doll" dress because I like to think Barbie would approve, especially of the colour ;)

P.S., I was one of those little girls that *loved* to play with Barbie's! I have fond memories playing "Barbies" with my cousin Alicia. She had lots of cool accessories, even a little CocaCola bottle! What fun we had :)


Ok, back to the dress! This gorgeous hot pink fabric, my mom bought me for my Birthday (thanks mom!). It's a polyester/spandex from Fabricville, labeled "Barcelona Knit". "Barcelona Knit", wow, I feel sophisticated even just saying the word! lol ;)

With my beautiful mom :) <3


 I started working on my dress only a week away (shame on me) and wanted to make it more similar to BR's but I would've had to modify a wrap bodice pattern to have dolman-type sleeves, and it wasn't working out quite so well as I had thought, and didn't look flattering on my muslin.:/

Since my pattern drafting skills are a bit lacking and I was on a time limit, I opted to go with regular sleeves since I knew they looked decent:) The skirt on the BR dress has what looks like a tulip hem skirt, but I kept it simple and just added a front pleated overlay to regular straight skirt.


"Action" shot ;)


With my handsome, newly-wedded brother :) 


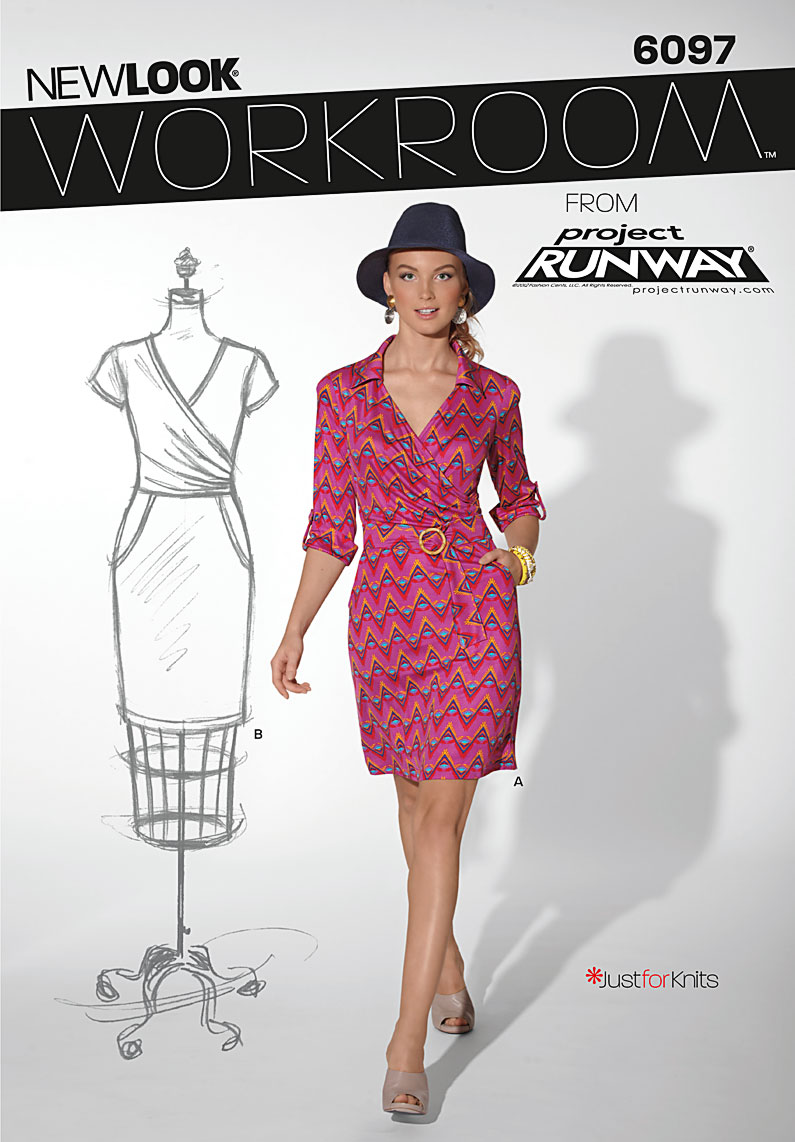
 Below is Chew-foot next to the laid-out skirt pattern piece from New Look 6215 (overlay, view C) and skirt piece from New Look 6097 (I used the back skirt pattern piece for both the front & back of the skirt part of my dress. I also used the bodice & belt from the ever-popular Vogue 8379 wrap dress.

Overlay of NL 6215 lengthened to match skirt piece from NL 6097

                     
For the bodice & belt :)
For the pleated overlay :)


Used the skirt pattern piece (minus the pockets) :)


Having a "baladie", as my french grandmother would say;)

 Anyone who has read any of my blog posts knows only too well how I like to add photos of my kitties. Here Chew-foot and Boris are getting into it. I had to break up this little tumble as they were getting a bit too close to the pattern tissue. Bad kitties!:)


I've done reviews on Vogue 8379,New Look 6097 , so I don't think an elaborate review is necessary.

 I do want to show you all my latest notion pictured to the right:) It's a measuring gauge with standard seam allowances printed on both sides. It was only a couple dollars at Fabricville and it's so handy! :)

Shown here is the lace "stay" I used to stabilize the shoulder seam. I marked the 5/8" seam allowance so I could line up the stay easier.

Pink thread makes me happy! :)

I "interlined" the front skirt piece to the overlay and sewed them as one to the back skirt piece (the back skirt piece was interlined with a lining fabric).

The photo to the right here is the back lining piece. I overlocked the bottom in lieu of hemming, in pink thread :)

I was concerned that the skirt side seams would be too bulky, but I think it worked out Ok. Plus, I didn't have time to try anything different. I finished my dress the day before the wedding!


  I'm very pleased with my "Wedding" dress, and had some nice compliments. I think one of the nicest compliments I received was from an Aunt that knows I sew. She said when she saw me in it, she thought it was one I had purchased (I guess it looked more complicated than it actually was).

Til next time! Happy sewing :)